The Gospel of Faux Leather/Pleather/Vinyl, Day Four.......Dress up any Magnetic Clasp with Pleather!
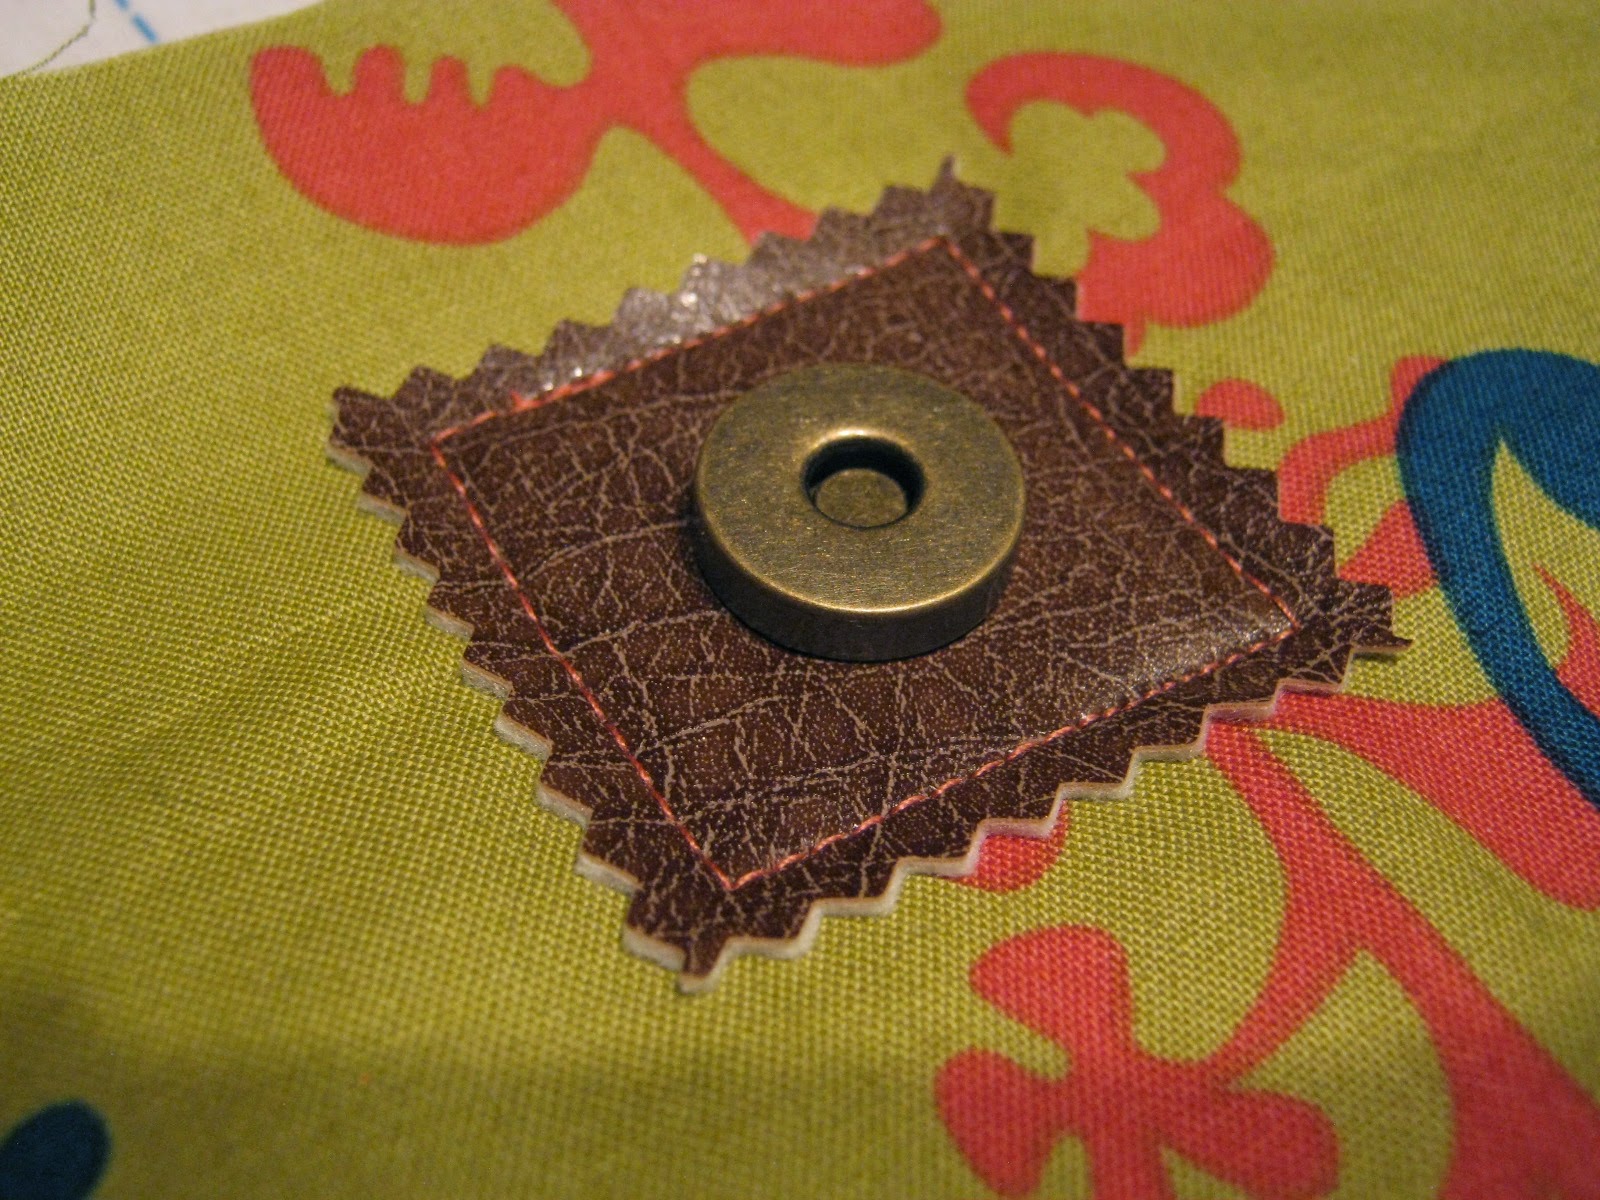
This is what it looks like.....read on to see how to do it!!
One of the most important facts to remember when creating anything is to think about how it will be used, so that it can be created to last.....
My thoughts about the weight of a metal magnetic clasp was the place that I started at when I developed this technique! The pleather detail is perfect, but it will also hold the weight of the clasp....but in addition to this, I like to layer another piece of pleather behind the lining that extends up to and is sewn into the top of the bag. The beauty here is that the clasp is extremely well supported, and should never tear out, even with all the abuse they normally get being latched and unlatched resulting in a lot of tugging on the lining itself. Hint.....I line my handbag linings with a layer of muslin, making the lining have a richer feeling
So lets get on with it.....
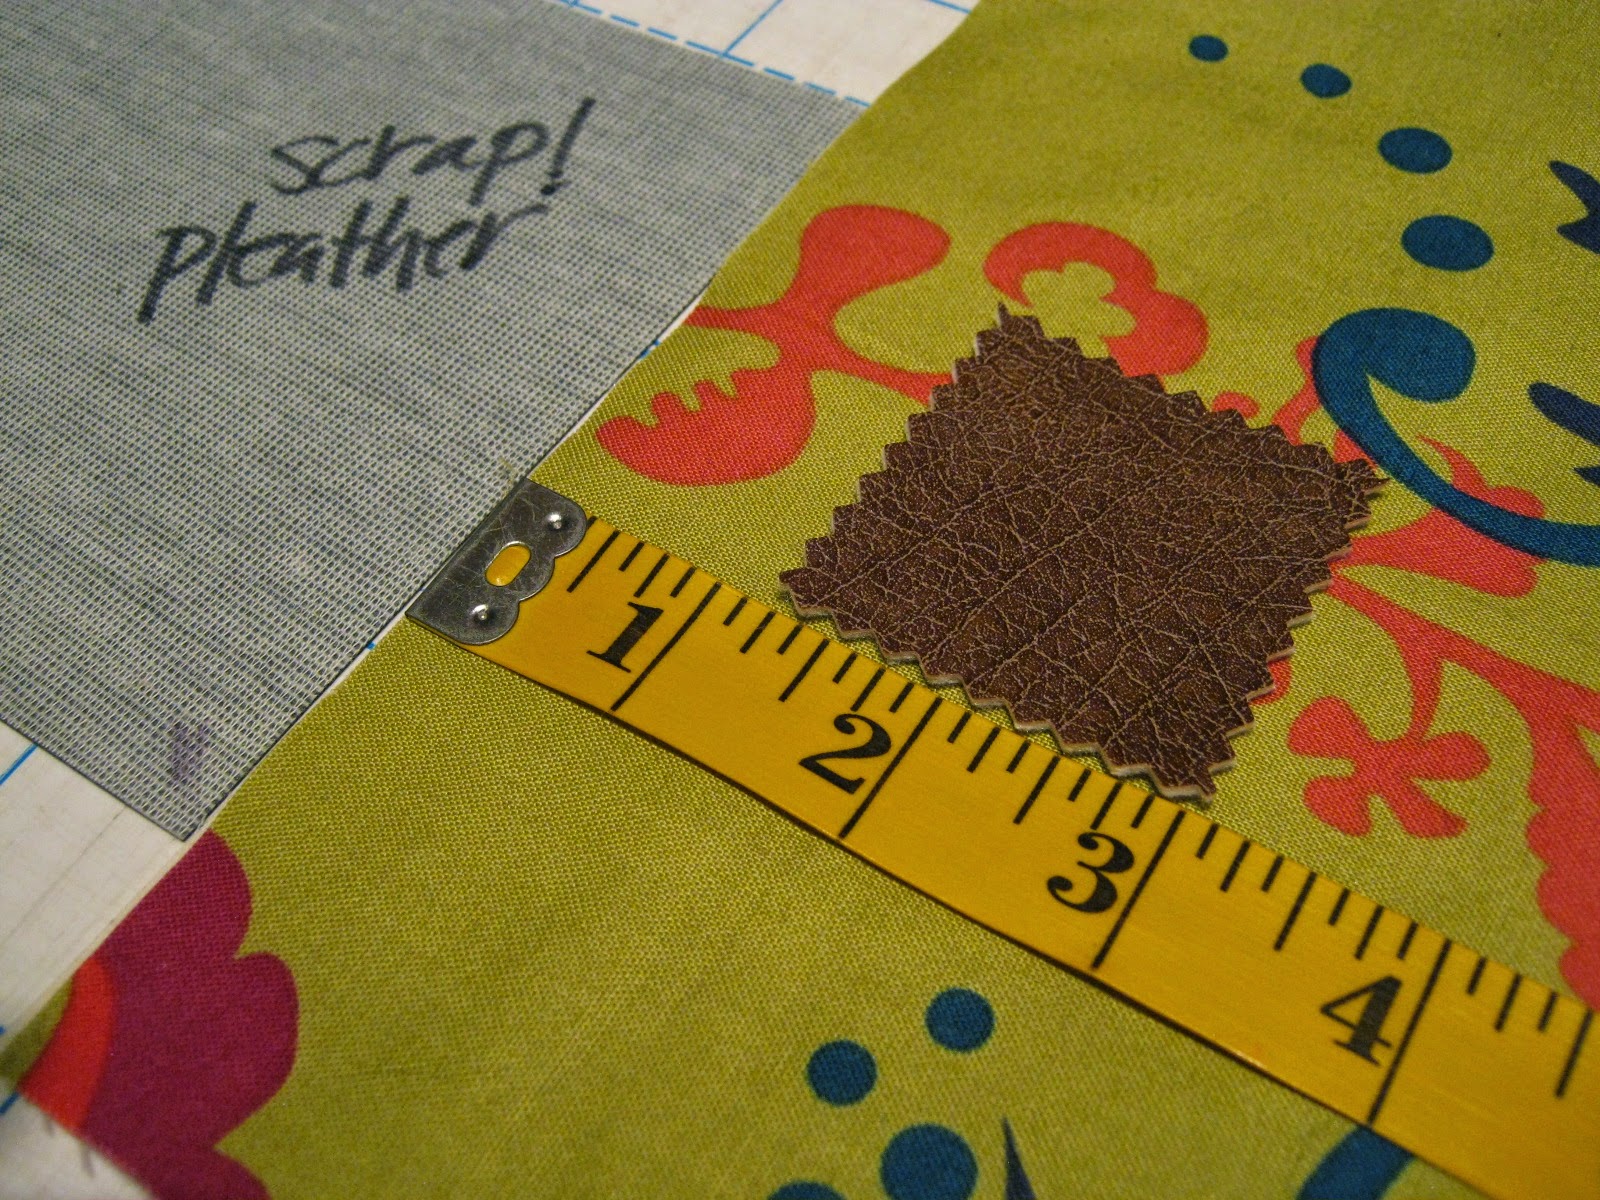
Cut a pleather square at 2" x 2"......and while you are at it cut another pleather square at about 4" x 4".

You get the idea........

Then cut off the slightest amount with a pinking shears on all four sides. I think the pinking gives the pleather a finished look.

Next, I generally place the pleather square down 3 " so that it clears however the top of the bag is finished. Because the clasp will be covering up the middle of the 2" x 2" pleather square, it is okay to pin in the middle of the pleather to hold it in place. Then see the scrap of pleather.....that is the 4" x 4" piece that is slipped behind the lining. The point is to to sew the pleather square onto the lining while also sewing through that scrap pleather on the back at the same time.....which makes a more stable environment for the clasp to be inserted into!
So here is where the pleather is pinned....scrap pleather in back....

And sew the pleather square on with 1/8" topstitch seam allowance....with only one pin the square can still shift a bit...make sure that it is straight when sewing the first 2 sides.
You can see the scrap pleather on the right side of the picture....


This is what it will look like after the square is stitched down....

And this is what it will look like on the back as the scrap pleather is sewn through too!!

Make sure that the scrap pleather is now trimmed flush with the top of the bag, and how ever the bag is finished, the scrap pleather should be "caught" in the top seam.

This is the catch for the clasp, that actually goes on the back side...but first we will use it to draw cut lines......as shown below.

Use an ink pen to draw the lines on either side of the center hole.....

Do not cut the lines with a scissor....it is difficult to cut pleather with scissors, but easy to make the cut with a seam ripper. Be careful so the cuts are not bigger then the line. Hint: Cut through all layers and this will keep the seam ripper from cutting too much.

On the right side slip the class through the cuts to the back, and then put the metal disk to fit over the clasp metal tips......

And then carefully bend the metal tips of the clasp out and away from the center.....taking care to pull out as much of the metal tip as possible. If the clasp is at all loose, then the full length of the metal tip was not pulled through the back. With a loose clasp bend the tips back up, then rebend outward, so that the clasp is secure and not moving at all.
This is what the back should look like when finished....

And of course this is what the front will look like!!
Thanks for reading The Gospel of Pleather.
If you have reached this far....thank-you for reading this series to the end. If you care to leave a comment, I will be doing a drawing for a Paradiso Handbag Kit from all comments on this post. Deadline for drawing entry will end Monday August 15th at 12.01am. In your comment please tell me what you liked in this series.....and your favorite Paradiso Handbag pattern, what color of pleather you love....and if you need hardware....gold or silver please?
Thanks for it all.....be chatting soon!!
Like Paradiso on Facebook
Follow Paradiso on Twitter @asewingdiva
Follow Paradiso on Instagram #cherylofparadiso


Comments
I do not have a way to contact you. Could you please send an email to me at paradisodesigns@gmail.com.
Please let me know what new pattern you would like and if it needs pleather and hardware, what color of each!!
Thanks for taking time for your comment!