Pattern Tester for Bianca Springer of "Thanks I Made Them" with the 'Now You See Me Tote"
Now You See Me Tote
Bianca Springer of "Thanks I Made Them" asked me to play with her
"Now You See Me Tote" pattern!
And this is what I made!!


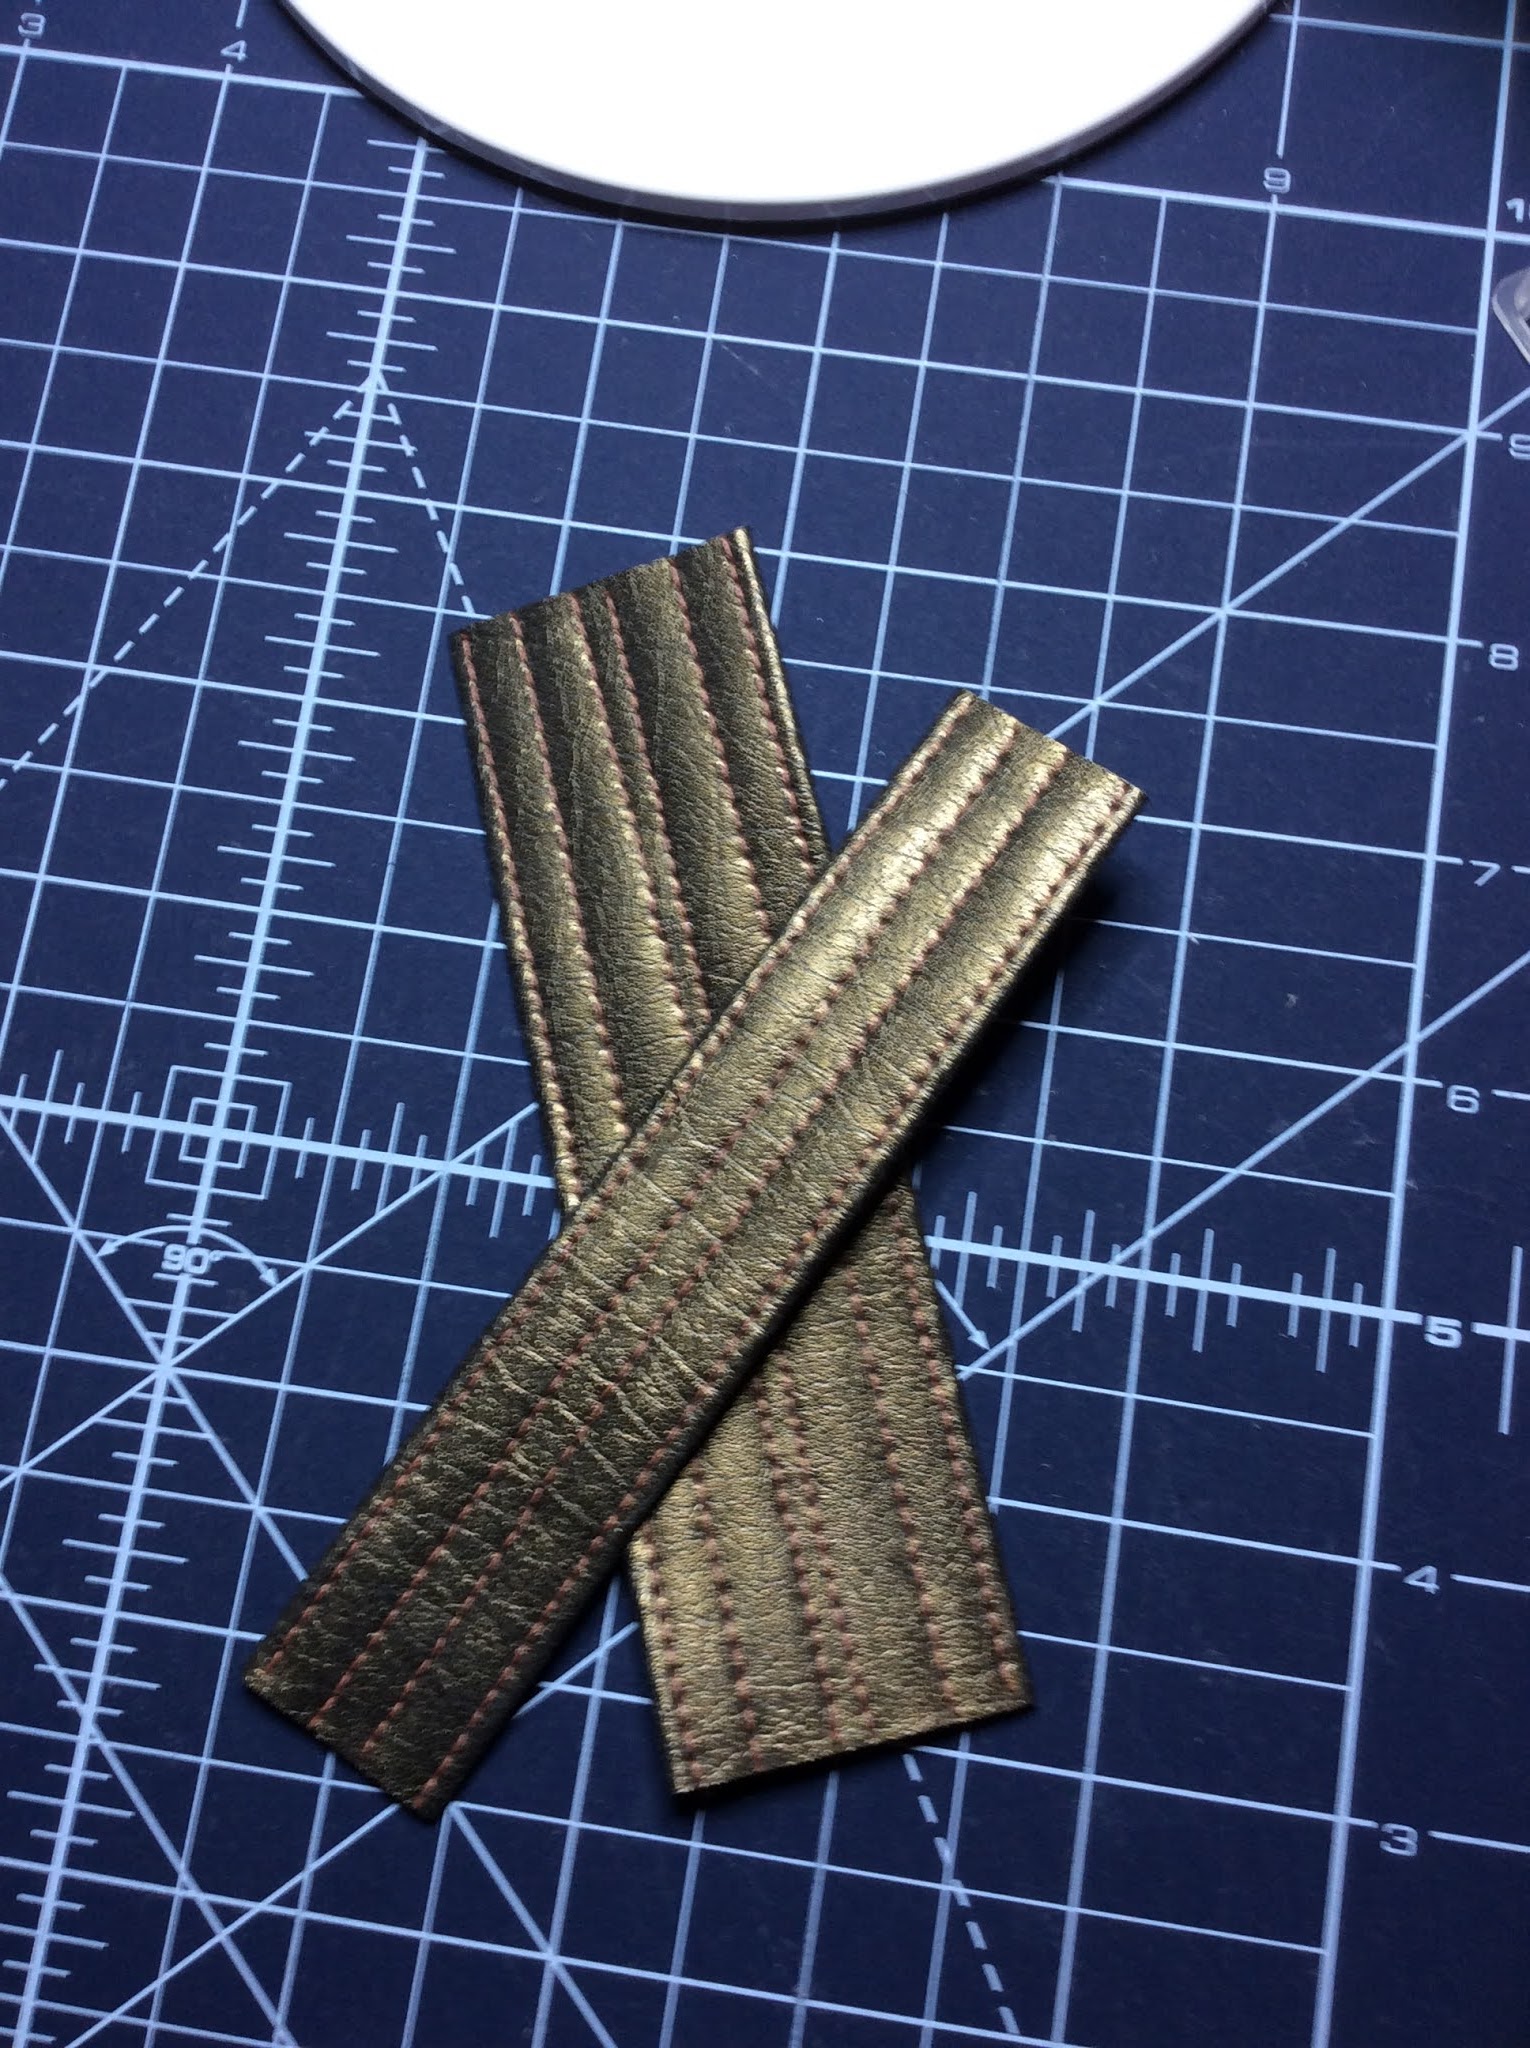
I used one of my Paradiso Pleather No. 1 Kits for the long strap, and the tabs that hold the rings, and the top trim on the clear bag.You can buy Pleather Kit No. 1 in 10 different colors and patterns that look like real leather here
Cut from the No. 1 Kit:"
-1@ 2" x 44", then cut off two squares 2" x 2" for the magnetic backings, set aside all pieces, 2" x 40" is for the clear bag top trim.
-1@3" x 11" for clear bag tabs, set aside
-1@2" x 11" for inner bag tabs, set aside
Tabs are constructed after strap.
-1@ 4.5” x 43” for the 1.5” strap,Strap Tutorial Here
After sewing the strap, then even the ends and make the length 42" long.
Then attach each end of the strap to a triggerhook.

Purchase the Triggerhook/Ring Set Here
This is how it should look....

Yes I used apricot thread...it's the little things.
Hint: Start sewing in the middle of the strap when attaching the swivelhook and use a generous stitch
length of 4.0, and only sew one stitch over the edge, but never off the edge, and
this task will be easier then you think!!

FOR the tabs.....
1 pleather strip 3”x 10.5” for 2 tabs
1 pleather strip 2”x 10.5” for 2 tabs
Tab Tutorial Here
When you have sewn both tabs, then cut two 5" tabs from each sewn tab length.

These will be used on the clear bag construction.
The skinny 1" tabs will be used in the inner bag construction.
For outer bag;
-Clear plastic is cut at 17” x 31”, fold in half at bottom, cut squares on edges 1.5 from bottom, and 2” from side, do not sew bottom, leave fold
-Cut one 2" strip of fabric, that will be ironed into a cap, that will cap and finish seams. Iron strip in half to 1" x the entire length. Then fold in one raw edge in towards the center and iron , then repeat for the other side. The cap should be 1/2" or close. I like the contrast of the fabric to the pleather.

-Enclose plastic sides with the cap trim and sew into place, then box the corners, then cover those seams as well

-Cut 2 pleather strips 2.5” x 18” for bag top, sew together at the 2.5” sides with a 1" seam allowance
This top does not have to be garment pleather, but a heavier fabric like denim or home dec will work well too For this garment pleather I actually used a light white canvas cut at 17" long as a stabilizer to strengthen the bag top.


Then turn the fold the seam allowances under to finish the seam.
I love how this looks!

Finished seam allowances


Cut one strip of cotton fabric the WOF (width of the fabric), this will be used to conceal the seam where the clear bag meets it top, then....
Then…..Layer to sew on the right side of the bag. 1- the tabs at the side, then the pleather (right sides together), then the 2.5” fabric strip, right side facing wrong side of pleather. Sew with a ½” sa. Pull pleather top up, with seam down. Wrap the fabric so that it extends past the seam ¼”, hold with clips, and sew from the right side above the seam 1/8” sa to catch the fabric, and to take the clips out as sewn.


For Inner bag;
Cut
1 fabric & 1 muslin 16.5” x 31 for the lining, fold in half at bottom, cut
squares 1.5 from bottom, and 2” from side, do not sew bottom, leave fold
2 @ 2” x 2” pleather squares for backing for metal clasps on lining
Cut
1 outer fabric, pleather, denim & 1 sew-in fleece 16.5” x 31 for the
lining, fold in half at bottom, cut squares 1.5 from bottom, and 2” from side,
do not sew bottom, leave fold
-After the lining is pinned to the muslin to act as one piece, then install the pleather backing for the metalic clasps, and use this tutorial here. Do it before you sew the bag sides up.
This is how the magnetic clasp will work,
and it looks designer bag like with the pleather backing!

-Then sew the sides with a 1/2" sa.
-Add the tabs as shown below!
1”
pleather tab 1” x 10.5” is cut into 2@ 5” tabs
Use
1” rings from Triggerhook set for the tabs, and sew on the tabs centered with the side seams!

Now with right sides together put the lining into the pleather outer bag, right sides together, and sew around the top with a 1/2" seam allowance, leave an opening to put bags right side out!
Pull the bag top seam just sewn out and clip the bag top to prep for top stitching that will add stability and close the seam. I like to do 2 rows of stitching with a 3.5 stitch length. First row is with a 1/8" seam allowance, 2nd one is 3/8" seam allowance. And your duo Now You See Me Tote is finished!


Comments