MAKE A DAISY HOBO BAG, DAY 3 SEW A LONG, ALL THE LINING STUFF
Hello!
Here we are working on Daisy.
I am so happy to get to this next step which was delayed just a bit.....because you know how life is!!
This post is all about the lining.
When I construct bags I make them to last.
I mean if we are gonna work this hard to make something,
we should do it well!! Right?!!
Here are the lining pieces:
Lining Sides (2) with muslin interfacing
Lining Bottom with muslin interfacing
Pocket (2, pocket front & back)
Pocket Top Cap/Trim
HINT: Use lighter fabrics for linings...it will allow for better viability in the bag.
HINT: Use a different fabric for the pocket/pocket back to see what is in the pocket easier.
Also I used the Isacord on the green spool for the exterior of the bag, but I am using the Coats & Clark neon pink for the linking so I can see the stitching.

- Here is a 2" strip, that will be ironed into a trim cap/top for the pocket.
- HINT: Cut this strip at 1-7/8" and feed through a 1/2" bias tape maker when
- ironing longer pieces into trim caps.

First thing is to iron in half as shown.

Then for the side carefully tuck one end into the center and iron.

Then flip to the other side and do the same thing, to result in a cap/trim cap.

Now you can see how it is a "cap"

I have found when cutting a lining side, the pocket, and the cap,
I cut the lining pieces the correct size.
The pockets an inch longer, and the trim 2" longer.
Then as I put the pieces together I cut them to the right size,
and it results in a much more accurate construction.

So grab the pockets and lay wrong sides together. I pin them in 3 spots in the middle down the length of the pocket, so that the pocket pieces do not shift.

HINT: Here is how you gain a hand in sewing....
Take the trim cap, place it under the foot for a 1/8" seam allowance on the open end.
Hold the threads and stitch 2-3 stitches at a 3.0 stitch length.
Side note: I should probably be using my 1D foot and NOT the non-stick foot...
but whatevs....sometimes we are lazy!!

Now side that pocket into the cap. The secret is to not put the cap onto the whole pocket.
Doing so is not the easiest task. I put the cap on a little at a time, then I can sew it on with out pins!

I put a little bit of the cap on, the pocket all the way into the cap, then smooth it down, and repeat!


Here we are almost done!

Now to the lining sides (2). Then you add the muslin, which acts as interfacing/stabilizer. It is one of my secret weapons. It gives stability to the fabric, to the handbag lining.
So lay the sides, wrong side down on their matching muslins.

Then I use three pins to hold the 2 layers together at the sides of each, and they act like one piece.
HINT: Make sure the pins look like this, so you can see them easily when sewing.
Also, I like to put 1 pin at the top of the sides...then I know at a glance the top,
it helps to not sew a pattern upside down!

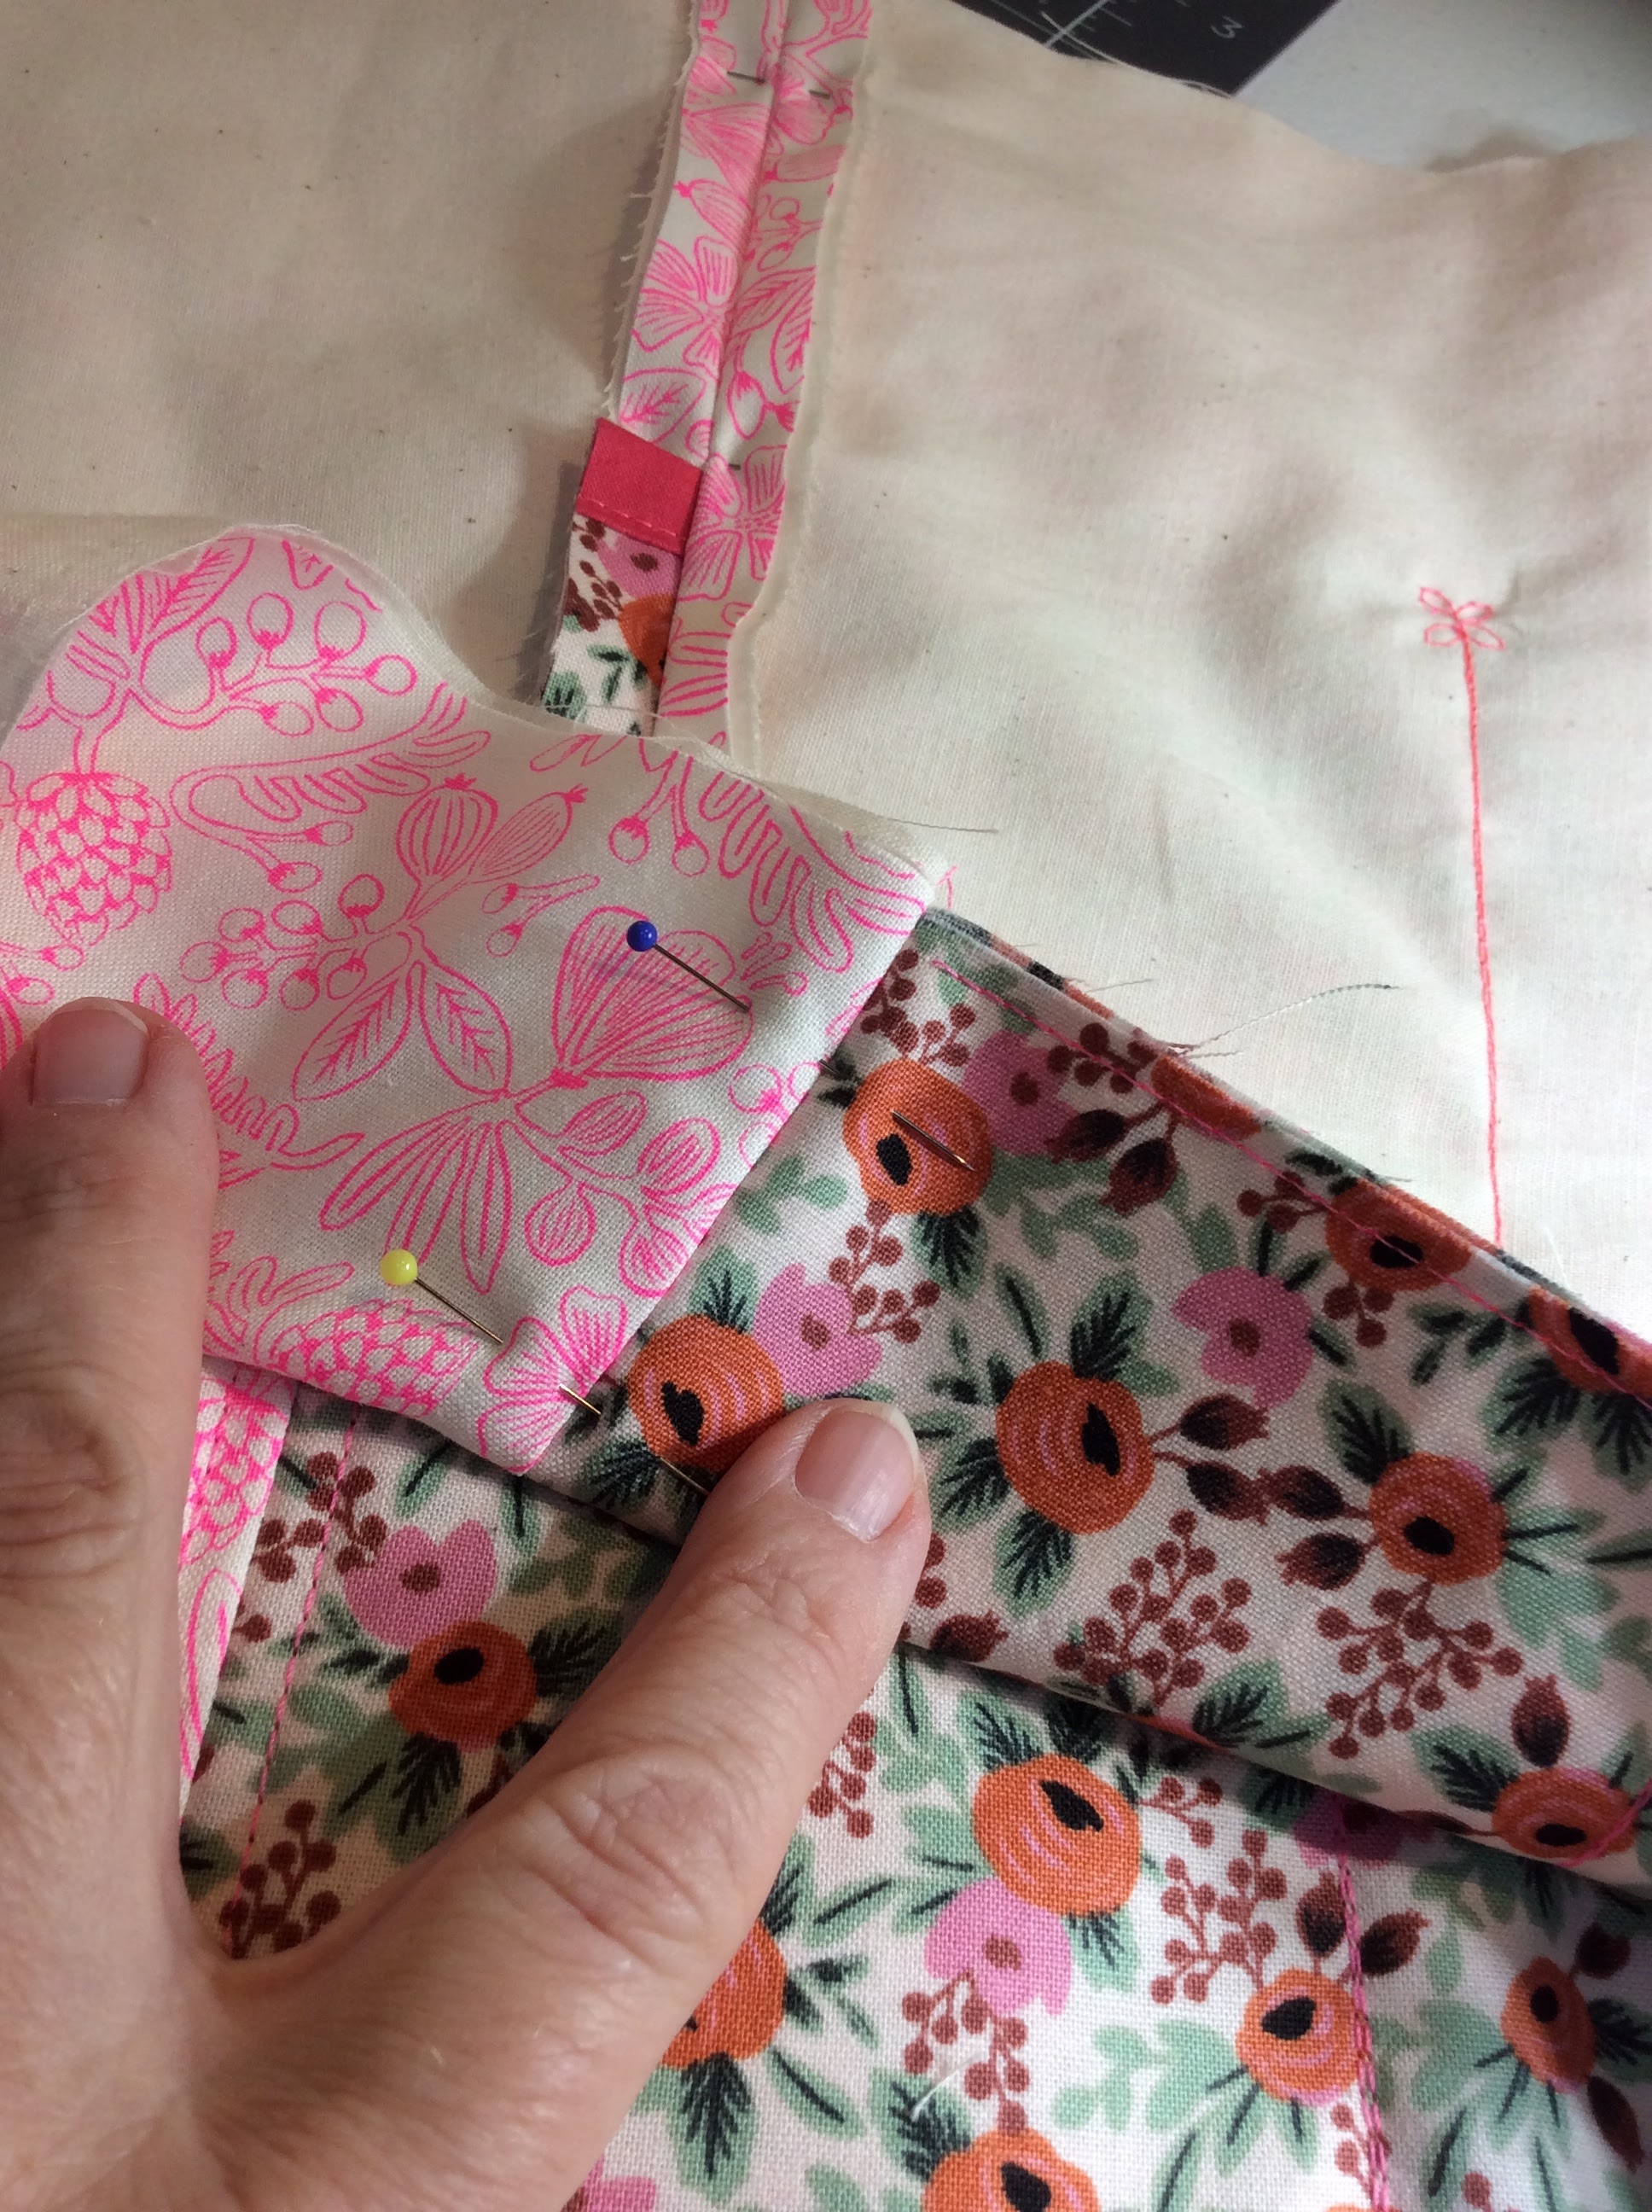
So I did not get a picture of the pocket being pinned on before it was sewn.
But I thought I could show you the back of the side with the pocket on in...right after it was sewn, and before I trimmed up the pocket edges even with the sides.
Because of the size of the Daisy, due to the shape of the bag, it would be awkward to have just 2 pockets. So I advise to sew 3. You could put the pocket seams where the corners of the bag are.
But, again due to size, which might result in a pocket that is small and hard to use, I add a 1/2" to the side pockets taking 1" from the center pocket.
And you can see the direction of the sewing. I start at the bottom edge, sew to the first pocket division, pivot and sew up. If you look closely I do a decorative stitch at the top of the pocket to strengthen where there will be a lot of stress at those points.
Then stitching back down to the bottom of the pocket to sew to the next division, and repeat.
On the right side, you can see the pins to hold the four sides of the pocket.
Then I use pins to mark the pocket divisions at the top and bottom, then sew with a 3.0 stitch length.
Once the pocket has been sewn on, trim the pocket edges even.
Then I pull the pins out of the corners of the pocket,
and use them to secure the layers of the pocket and the lining sides.

Here is where I am just starting to sew on the pocket.

Here is a view of the pocket sewn and the home dec stitches to reinforce the top of the pockets!

Here are the 2 bag lining sides ready to be sewn together!

With right sides together I like to pin one or two pins just at the top with enough room to place under the foot. I do not pin the rest of the side. The sides are already pinned,
and it is easier to lay the edges even and feed them into the machine as it sews.
Remember to back stitch at the beginning and end,
and use a 1/2 seam allowance.

Once the seam is sewn, flip to the right side, and finger press the seam open on the backside.
I like to throw a few pins to make sure the seam stays open until I top stitch it.

On the back, the pocket should float to the other side to distribute the bulk of the pocket in the seam.

When top stitching with a 3.0 stitch length with the right edge of the foot even with the seam,
and move the needle all the way to the right. Starting at the top sew down to the bottom,
cross over the other side and sew back up to the top.

Repeat to sew the other side, pin open the seam.
This is another example of sewing in the tunnel.

Start at the top, and repeat sewing down to the bottom, and then back up to top stitch both sides of the seams in one run.

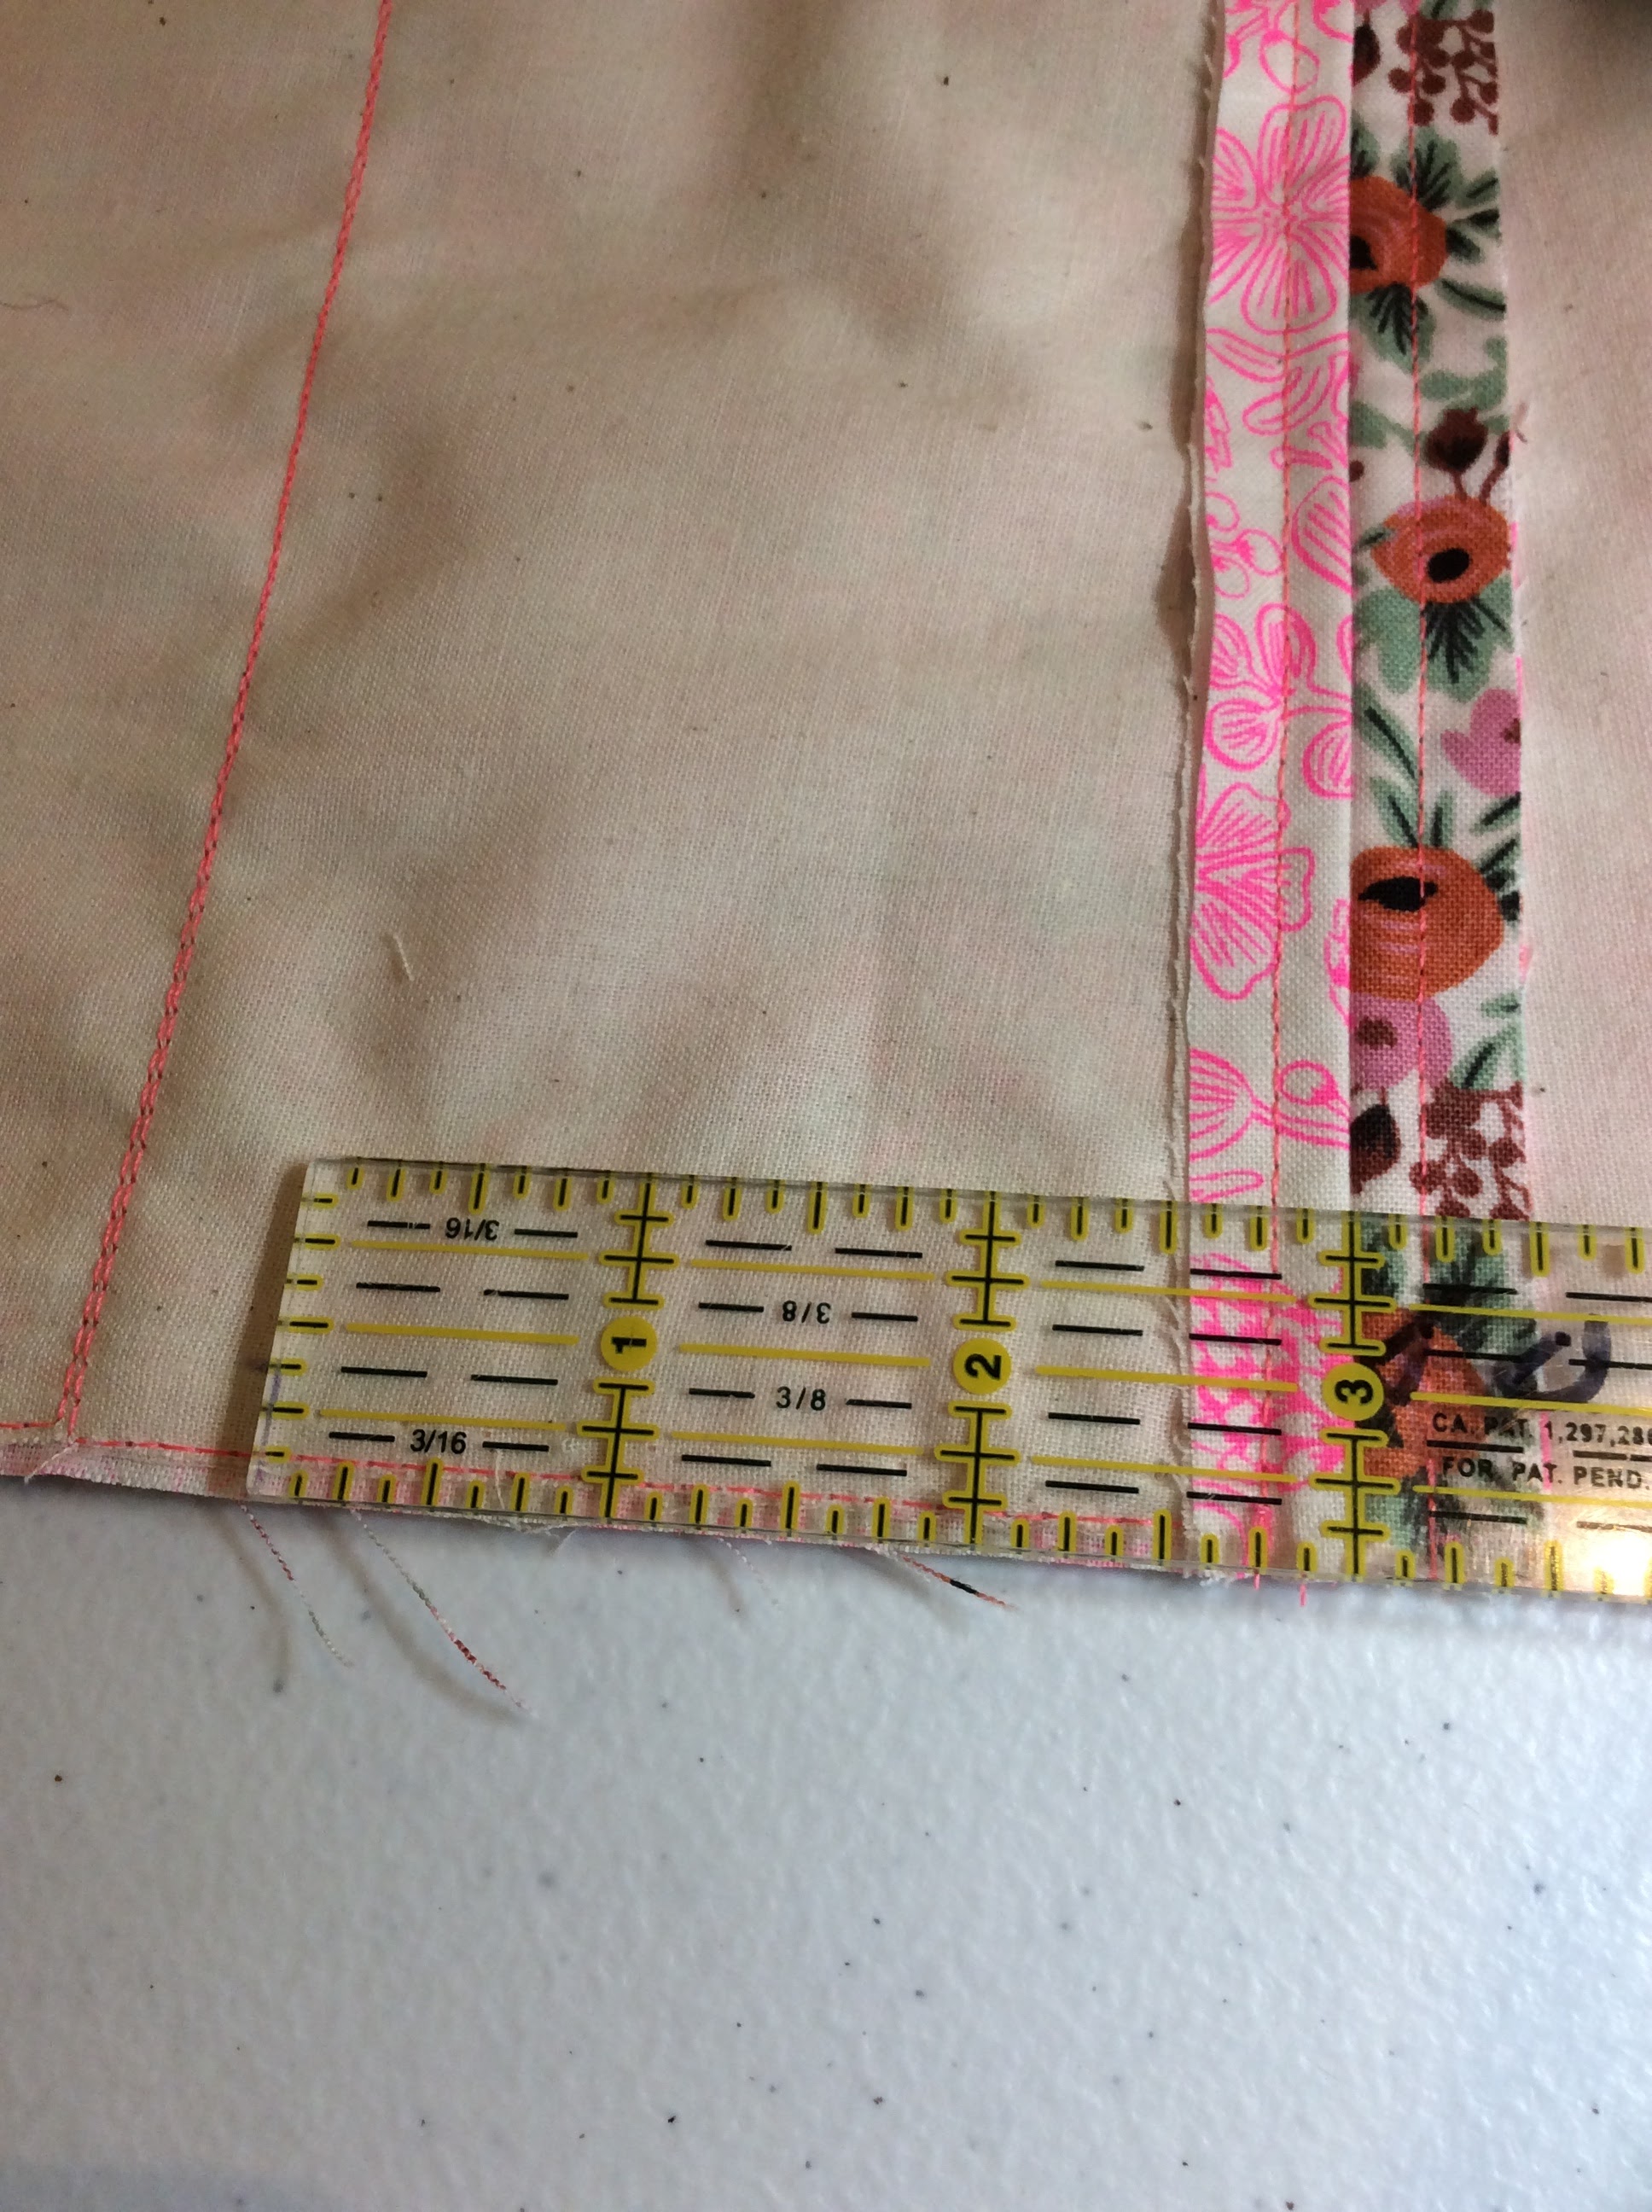
Now to attach the lining to the bottom.
Measure out 3" from both sides of each seam. Make a 3/8" mark, just like the exterior.
Four corners = 4 marks.

Grab the bottom and the muslin and layer.

I threw 2 pins to keep the layers even, then find the centers of each side of the bottom
and use a pin to mark.

Now find the centers of the lining body, by matching the seams, then use a pin to mark the center.

Now match the pins of the bottom to the pins and side seams of the body as shown.
Clip the 4 marks, only clip 3/8".
When pinning the bottom to the body, pin from the bottom,
it will make it easier to sew this last seam.

See below how the clips come into play at each corner.
Notice how the pins are pinned.

Here is the entire bottom is pinned and ready to sew!

This is cool it is stands up before sewing!


Just as it was done with the exterior, start stitching on a side, not on a seam with a 1/2" sa.
Pivot at each corner on a diagonal with 2 stitches.
Sew around the entire bottom.
You be able to sew right up to the pin as you sew, so that all the pieces are held in place
until the pin is removed!


Tomorrow we will be able to finish the Daisy.
I am super excited to show you the finish!!
Check it out Here
Many thanks for following along!
xo,
Cheryl


Comments