MAKE A DAISY HOBO BAG, DAY 4 SEW A LONG, THE FINISH!!
LOOKY!
Goodness......almost done with the Daisy Hobo!!
Now we just have to put the exterior and lining together!
So when looking at the top here, just remember that the center of each side is the center of each tab!
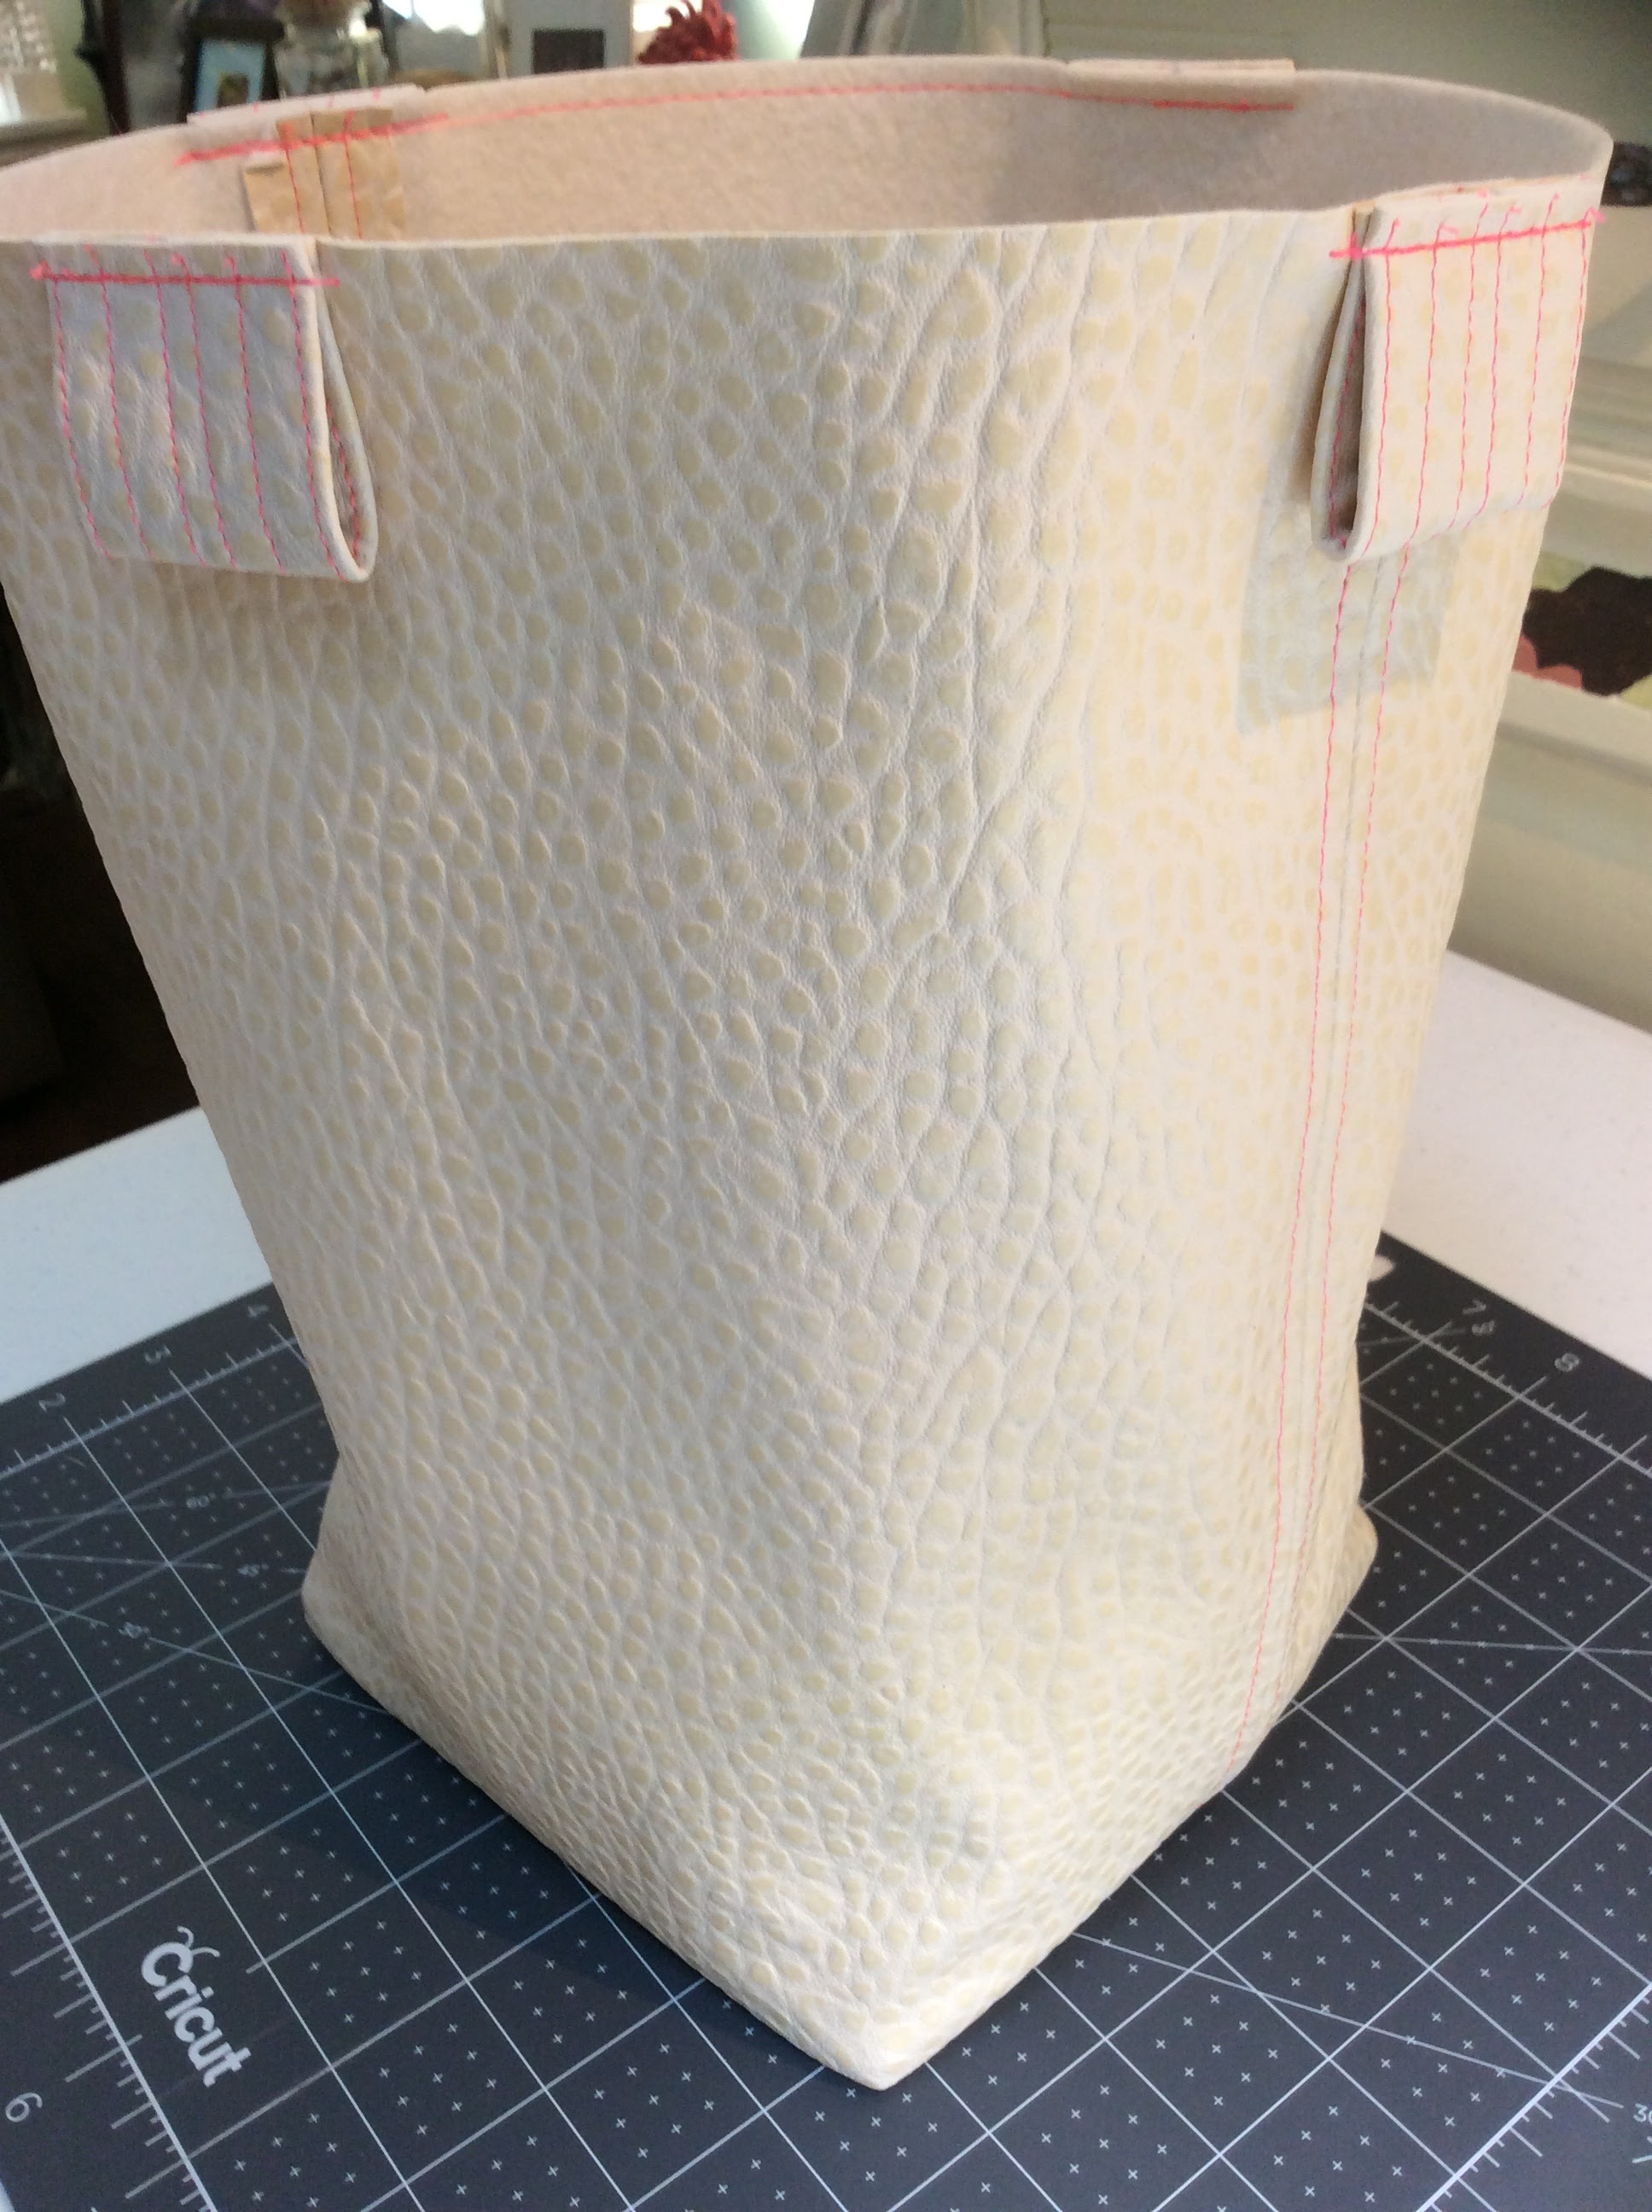
Here is the lining...before the bottom was sewn on...because I am human and forgot to take a picture....but just imagine no pins!

Before inserting the exterior into the lining, find the 2 centers at the top of each side on the lining
and mark with pins.
When placing the exterior, I make sure to off set the seams of the lining,
so they are not matched with the seams of the exterior to eliminate bulk.
In this picture you can see where the seam of the lining, there is no seam of the exterior.

In this picture you can see that the exterior seam will be attached to the top center of the lining.

Here the top edges of the lining and exterior are clipped and ready to be sewn together.
I like to leave the opening from one mid-tab to the next mid-tab.
This makes it easier to close the opening after turning.

I sewed the seam with a 1/2" seam allowance. I made sure to back stitch, so that when we turn the bag to the right side, the seams are strong to hold through the turn.

I do my best to try and get the bottom out first, by curling it to make it smaller
and a little easier to pull out first.
The rest of the bag will pull out pretty easy, most importantly gently ease it out
to prevent stretching of the opening.

Gently!

After getting the bag right side out, put the lining to set into the bag,
making sure the corners are in the corners at the bottom, etc.
Then get the top edge even by pulling out all the material to the seam at the top.
Clip that top edge in place, with the flat side of the clip on the lining
and the rounded part on the pleather.
If you do not have a dual feed on your machine,
use a walking foot with the entire foot on the pleather
and the right side of the foot flush with the edge, and the needle all the way to the right.
Start stitching on a side and not on the tabs with a 3.5 stitch length
adjusting up to a 4.0 over the thick bits.
Breathe and take your time on this, and it truly will be worth it!

Here you can see the finished bag!
Now to add the strap.

Thread the strap as shown below.

Then I center the ends of the strap right directly on top of each other and clip together as shown.
Then I do a tack stitch at the end of the strap edges to hold the ends together.
You could use a 4.0 stitch with a zig-zag stitch and drop the feed dogs to stitch, but not move the strap.
Stitch about 10 stitches, then clip the threads.

You can see the stitching that holds the ends together.
Gently knot the end, sliding it gently closed to tighten it!

This is a great knot!!

Here is the finished Daisy!!

And you can change up the straps!!
Making for a different look!

Details!

Close up!

I really love the colors of the lining too!!

My next post will show a collage of some of the different Daisy Hobos I have made.
Check it out Here
When you shop for the Daisy Pattern & Kits it is on my Paradiso Designs Facebook page.
Scroll down to find the right kit or pattern to purchase!
Shop Paradiso Daisy Pattern & Kits Here
Thank-you for following,
xo,
Cheryl


Comments