The Versatility of Binding...what can you do with it?
bind·ing [bahyn-ding]
–noun
1. the act of fastening, securing, uniting, or the like.
2. anything that binds.
3. the covering within which the leaves of a book are bound
4. a strip of material that protects or decorates the edge of a tablecloth, rug, etc.
BEAUTIFUL BINDING ... let's show you how to do this!!!
I have been using binding in so many different ways, and I love the look of it. If you use the right fabrics together you can really make a design pop. You will see the pocket top, or you will see trim on the edge of something, where before you may have never noticed it before!!
With this simple tutorial you can make binding to make ties. Have you seen how you can buy yardage of kitchen toweling? Use binding to trim it. What if you made 2" wide trim? How beautiful could that be? It's kind of a fun thing to do ... let's get started...
First, figure out what you want to trim, and what you would like to trim it with! For a regular trim, I generally cut a 2" wide strip from the trim fabric along the width. This will give you about a 1/2" trim width. Fold in half legthwise and iron.
Rotate the strip around so the now ironed side is on the bottom, and repeat to enclose the last raw edge.
Next, pin the begining of the trim to your fabric so that it is in the right place to start sewing together.

–noun
1. the act of fastening, securing, uniting, or the like.
2. anything that binds.
3. the covering within which the leaves of a book are bound
4. a strip of material that protects or decorates the edge of a tablecloth, rug, etc.
BEAUTIFUL BINDING ... let's show you how to do this!!!
 |
| Using binding to trim the pockets on the Tiny Bag. |
 |
| Trimming the ruffles of the Retro Granny Skirt. |
I have been using binding in so many different ways, and I love the look of it. If you use the right fabrics together you can really make a design pop. You will see the pocket top, or you will see trim on the edge of something, where before you may have never noticed it before!!
With this simple tutorial you can make binding to make ties. Have you seen how you can buy yardage of kitchen toweling? Use binding to trim it. What if you made 2" wide trim? How beautiful could that be? It's kind of a fun thing to do ... let's get started...
First, figure out what you want to trim, and what you would like to trim it with! For a regular trim, I generally cut a 2" wide strip from the trim fabric along the width. This will give you about a 1/2" trim width. Fold in half legthwise and iron.
 |
| Cut along the width. |
 |
| Iron it in half. |
Now fold in bottom edge towards center crease and iron down. DO NOT TRY TO FOLD IN BOTH SIDES AT THE SAME TIME. It will be very difficult to get them even, and once you iron it, it will be difficult to fix.
 |
| Fold bottom edge up to crease. |
 |
| Fold up again so that the center crease is now on the bottom |
Rotate the strip around so the now ironed side is on the bottom, and repeat to enclose the last raw edge.
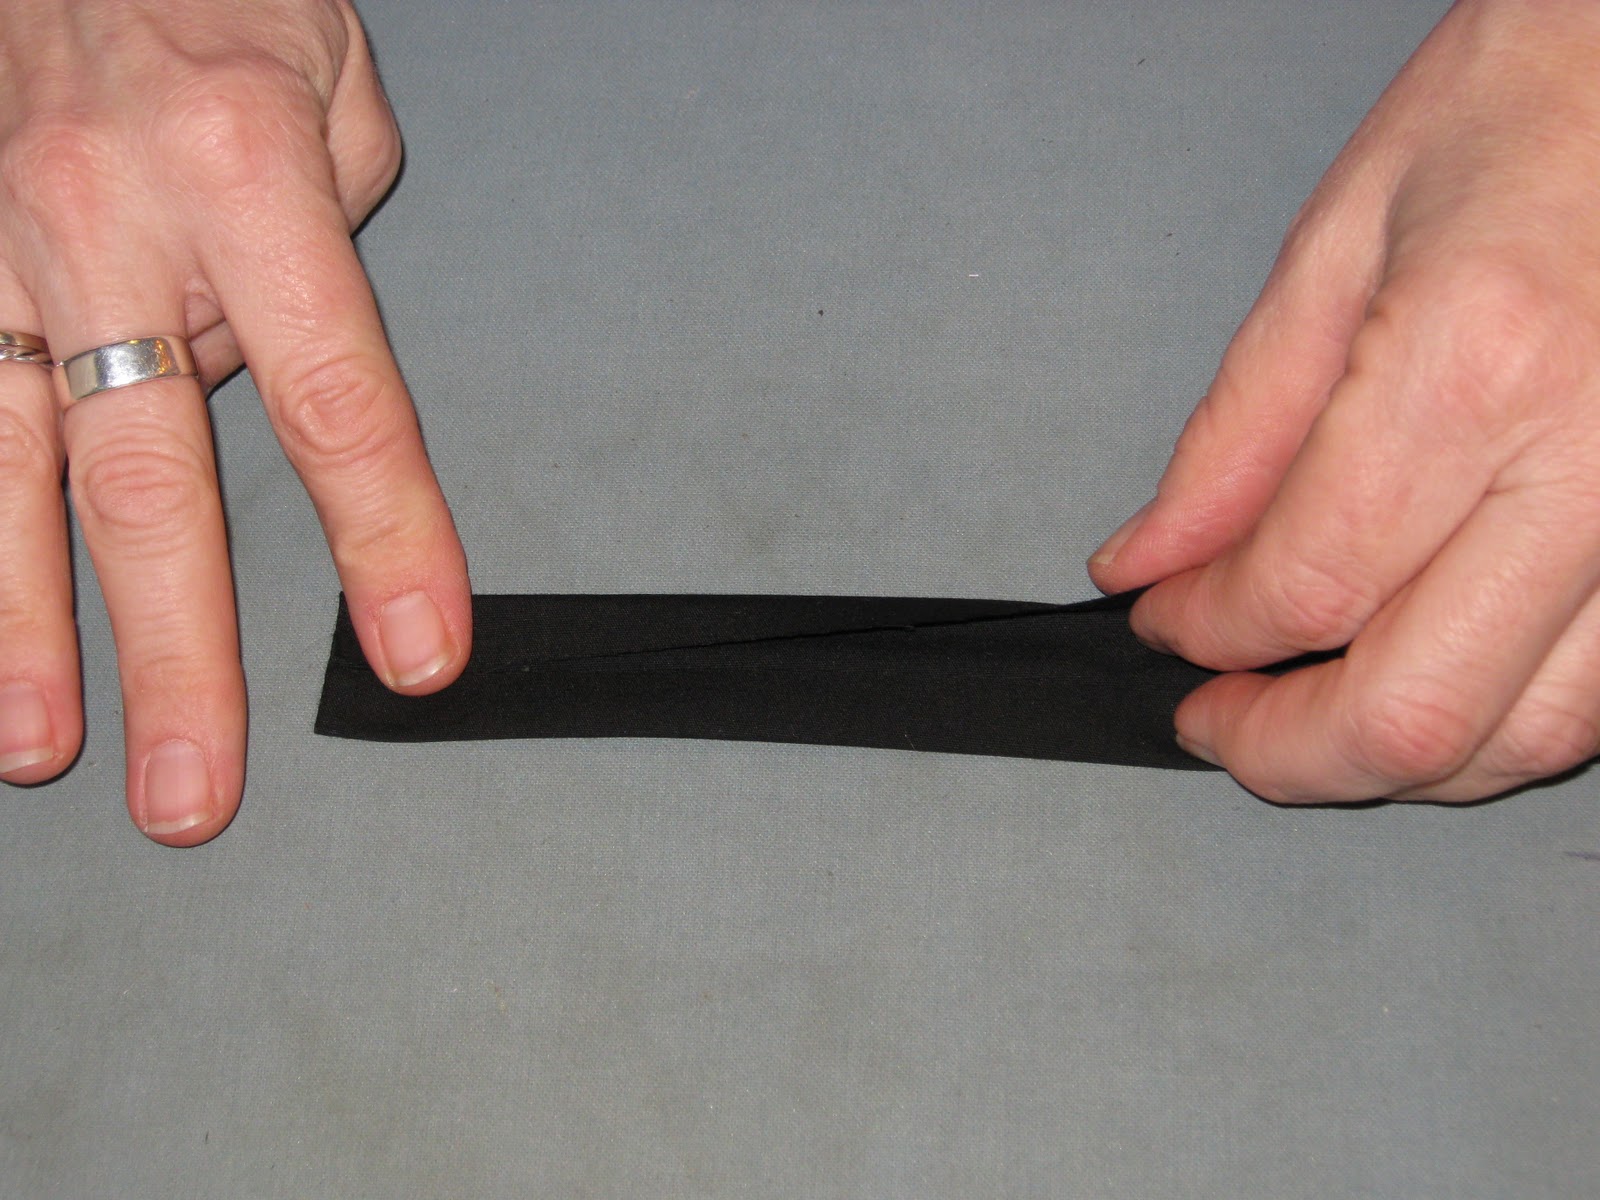 |
| Fold up top edge to center crease. |
 |
| Fold other edge into the center and iron down both creases together. |
 |
| Your trim should now look like this. |
 |
| No need to pin it all, you can guide the fabric into the binding pretty easily. |
 |
| Trim pinned where you will begin to sew. |
 |
| Start sewing using a 1/16" sa, 1/8" is okay too. |
Begin sewing trim using a 1/16" seam allowance, OR you can use a 1/8" sa too.

Manually guide the trim into the middle of the binding between folded edges.

Manually guide the trim into the middle of the binding between folded edges.
 |
| Check your alignment every 2" or so to keep it even. |
Ta Da! Check out this binding on the edge of this dress ... pretty cool, huh?

 |
| We will get a picture of this dress soon, so that you can see the total look! |


Comments